
This is it — the final post of Week 1, and the one everything else has been building toward. We’ve covered architecture, workspaces, the Application Builder, page components, URLs, debugging, and application-level settings. Now we put it together: a quick grounding in the SQL and PL/SQL you’ll actually use inside APEX, followed by creating a real, working application from scratch.
"You don't need to be a PL/SQL expert to start building in APEX — but the more comfortable you get with it, the further the platform will take you."
APEX is built on top of the Oracle Database, which means SQL and PL/SQL aren’t optional extras — they’re the language the platform speaks natively. The good news: you don’t need deep expertise to get started. A working knowledge of a handful of patterns covers the vast majority of what you’ll do in your first several weeks.
Part 1: Basic SQL & PL/SQL for APEX
SQL You’ll Use Constantly
Almost every report, chart, and select list in APEX is powered by a SQL query behind the scenes. The core pattern you’ll write over and over:
					SELECT column1, column2, column3
FROM   your_table
WHERE  some_condition = :SOME_ITEM
ORDER  BY column1;
That :SOME_ITEM syntax is worth noting immediately — the colon prefix is how APEX substitutes a page item’s current value directly into your SQL at runtime. If you have a page item called P1_STATUS, referencing :P1_STATUS in a query filters based on whatever the user currently has selected.
PL/SQL You’ll Use Constantly
Most of your PL/SQL inside APEX shows up in Processes — blocks of logic that run at defined points during page submission. A typical process looks like this:
					BEGIN
    INSERT INTO erp_adm_users (
        user_id, username, email, password_hash, user_type
    ) VALUES (
        erp_adm_users_seq.NEXTVAL, :P1_USERNAME, :P1_EMAIL, :P1_PASSWORD_HASH, 'TENANT'
    );
END;
Same colon-prefixed substitution syntax applies here — :P1_USERNAME pulls directly from that page item’s current value. This is the same ERP_ADM_USERS table structure we built out in the last post, which makes for a natural, concrete example.
A Note on Bind Variables and Security
Always use bind variables (the :ITEM_NAME syntax) rather than concatenating strings together to build dynamic SQL. Beyond being the correct APEX pattern, this is also your primary defense against SQL injection — a topic we’ll cover formally in Week 2’s security content, but worth building the habit around from day one.
Part 2: Creating Your First Application
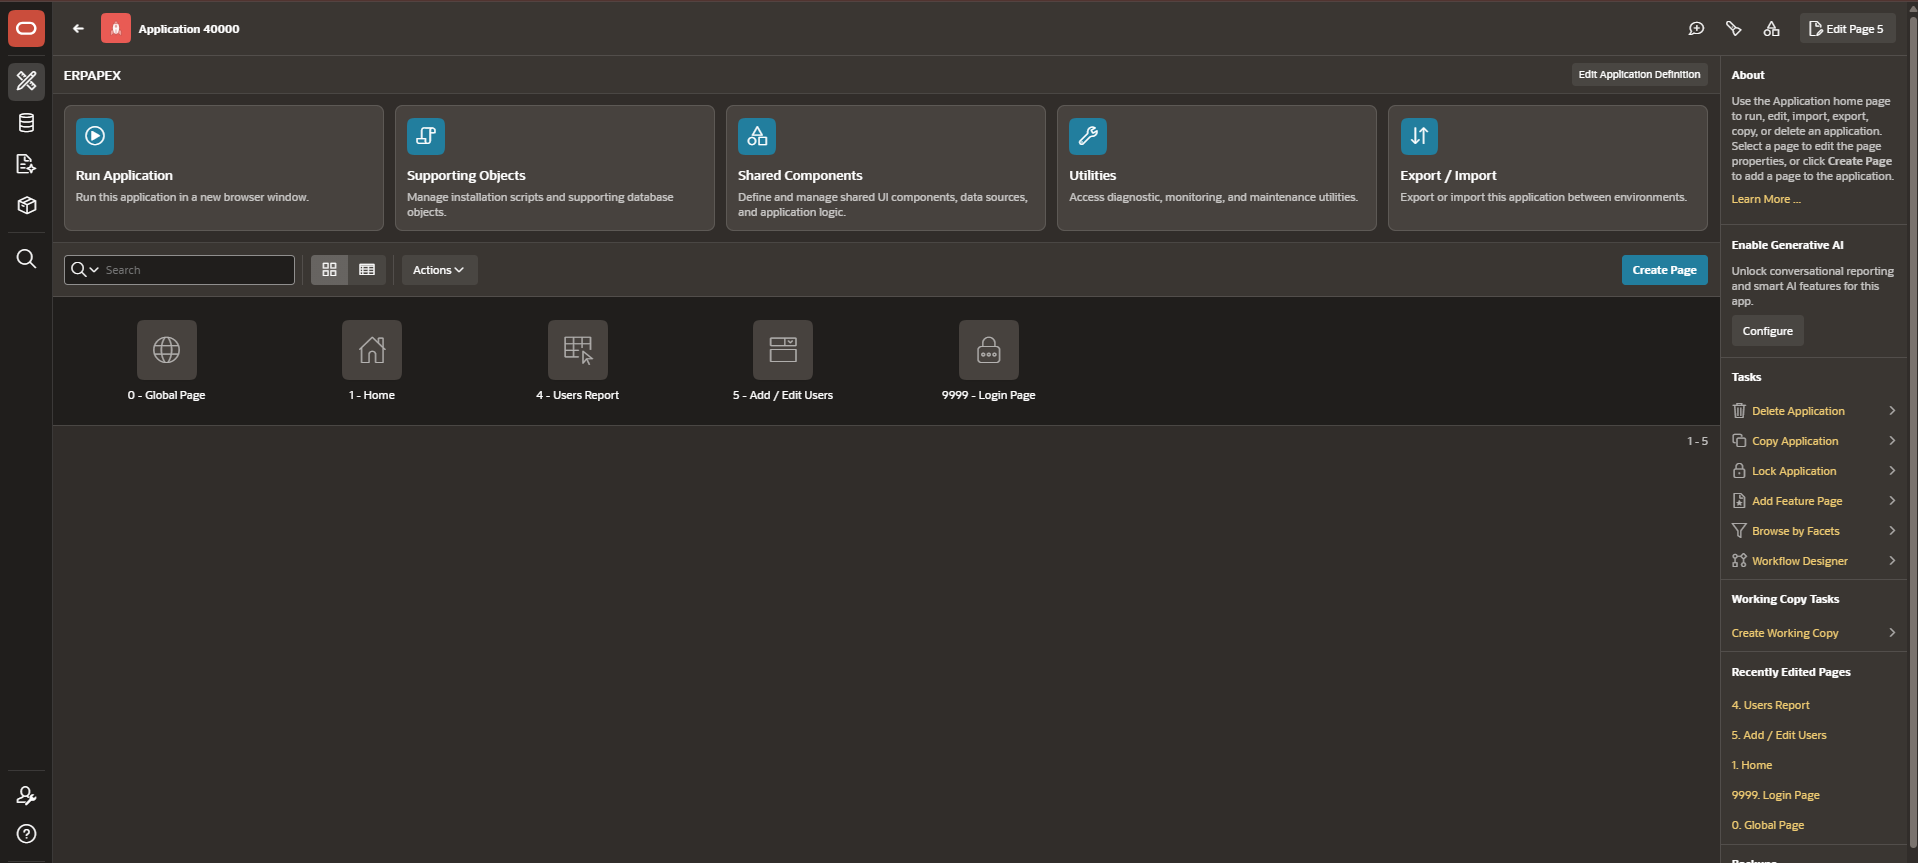
With that grounding in place, let’s actually build something — a simple application using Application ID 40000, based on the ERP_ADM_USERS and ERP_ADM_ROLES tables from the previous post.
Step-by-Step: Creating Your First Application
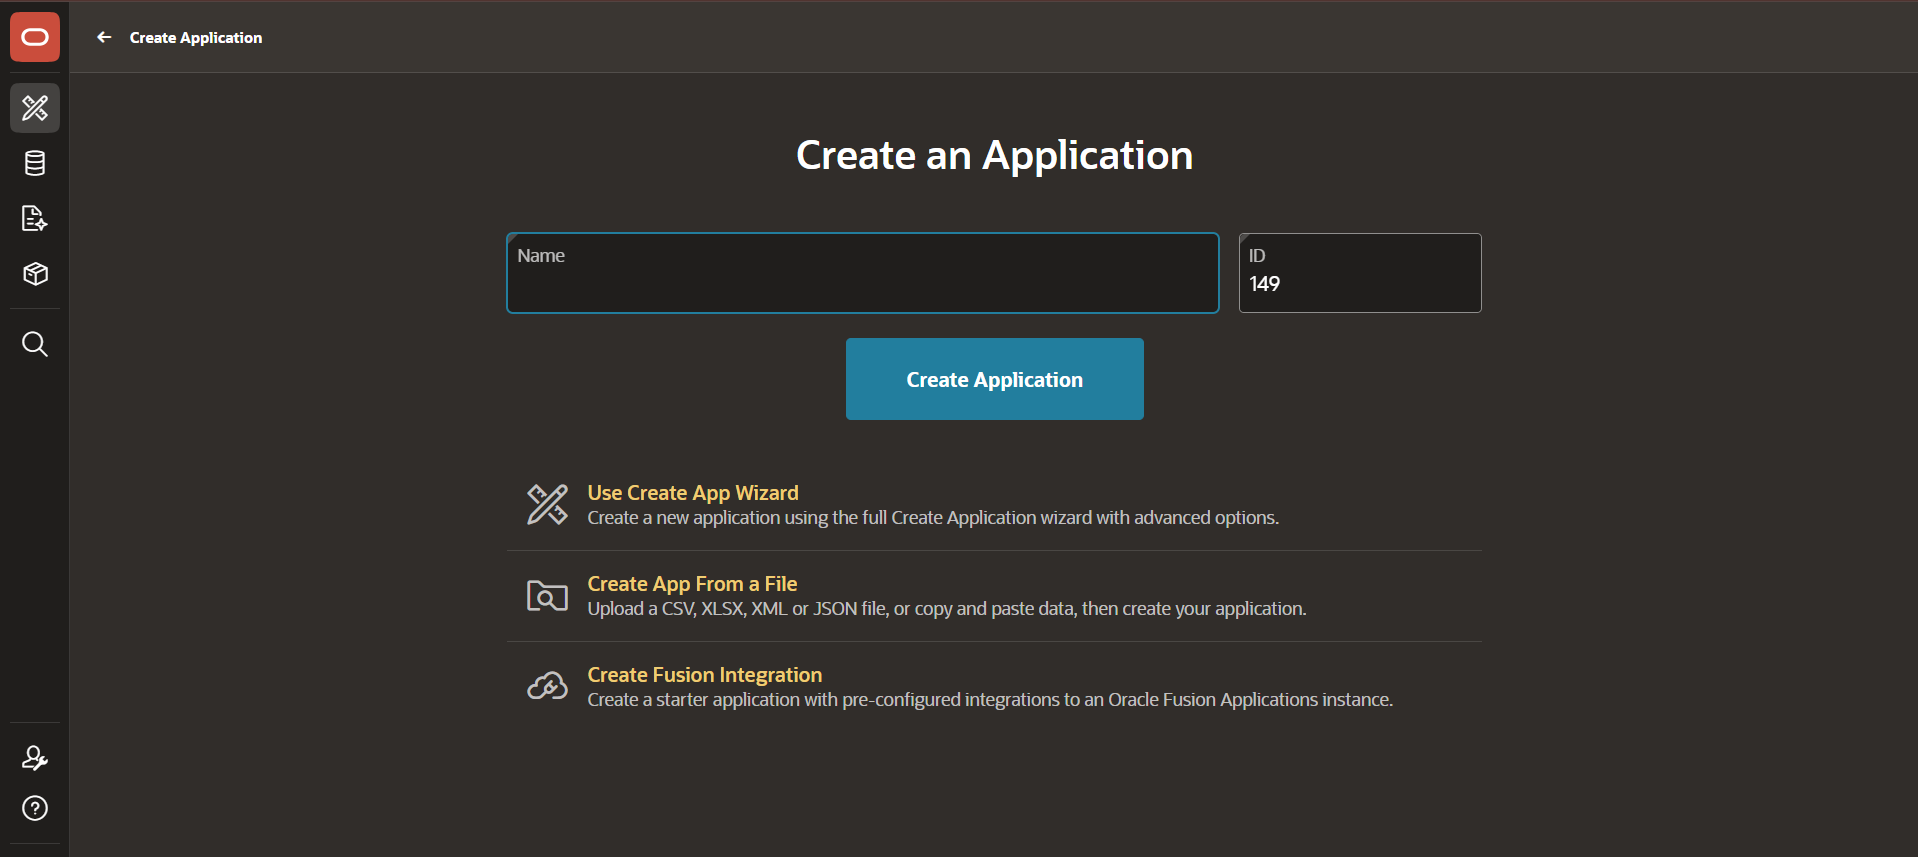
Step 1: Start the Create Application wizard From the Application Builder home page, click Create.
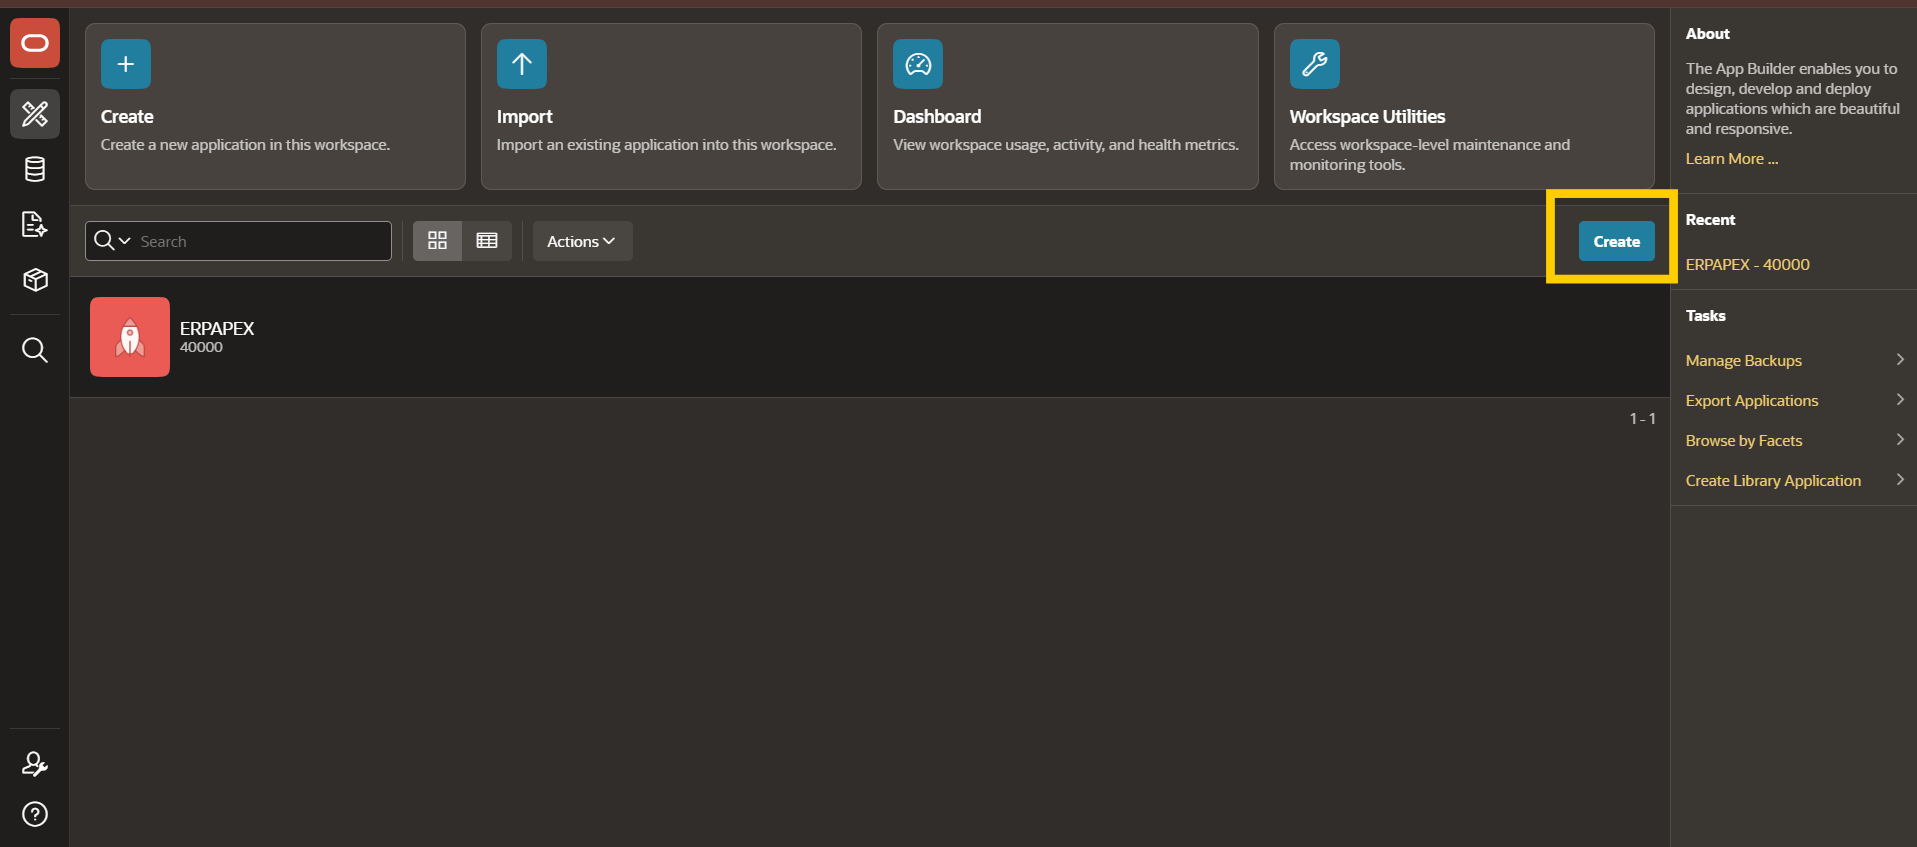
Step 2: Choose “New Application” APEX offers a few starting paths — New Application, or building from a spreadsheet/existing data. Choose New Application for a clean build.
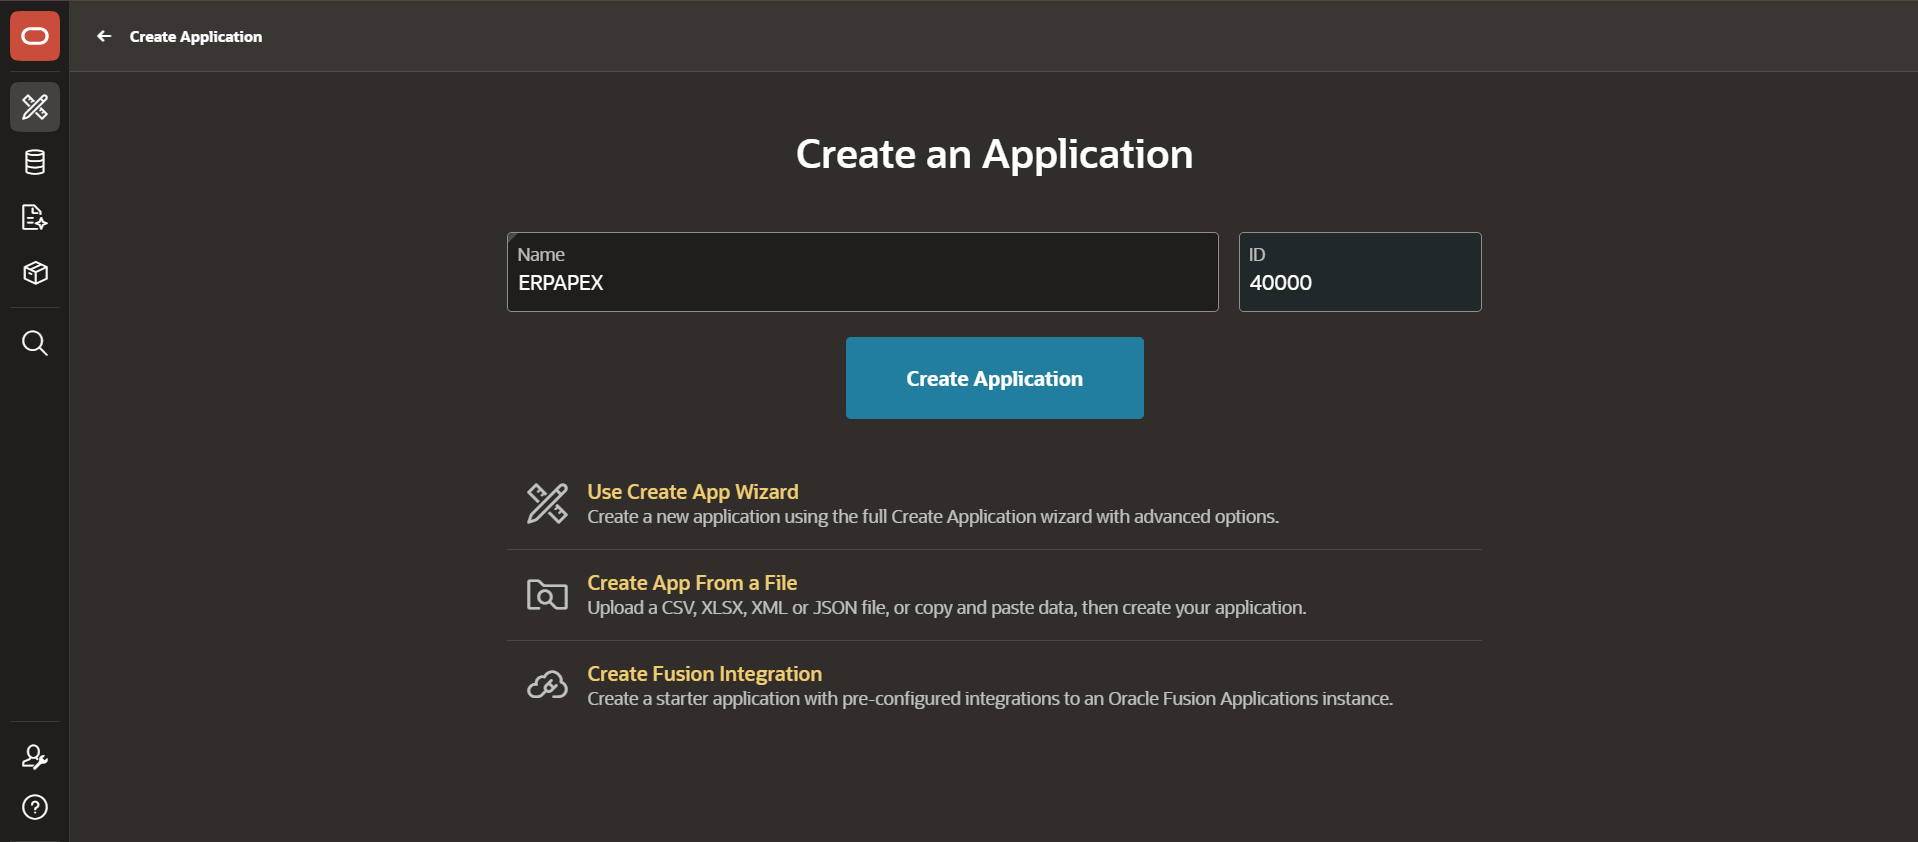
Step 3: Name your application and confirm the ID Give it a clear name (e.g., “ERPApex Admin”). Confirm the Application ID field shows 40000 — if you’re creating this fresh, APEX will assign the next available ID automatically, so you may need to manually set it to match if 40000 was reserved for this specific project.
Step 4: Add pages based on your tables This is where APEX’s rapid development strength really shows. Choose Add Page, select Report and Form, and point it at erp_adm_users. APEX automatically generates:
- A report page listing all users
- A form page for creating/editing a single user record
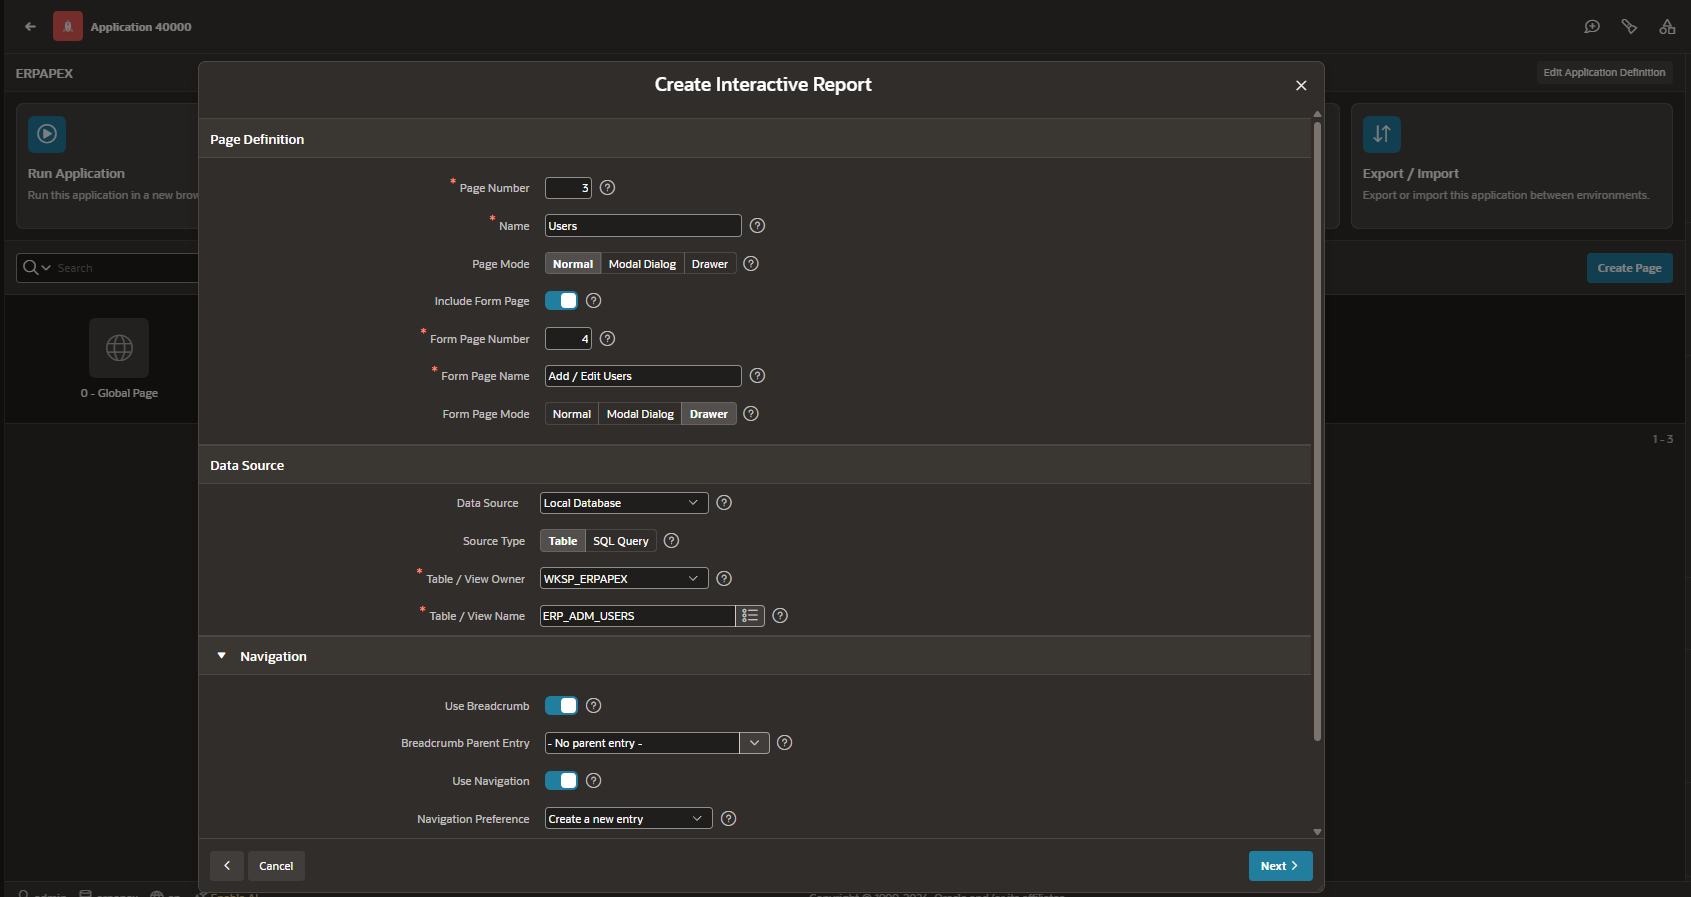
Step 5: Repeat for your roles table Add another Report and Form page pair, this time pointed at erp_adm_roles, so you can manage roles the same way.
Step 6: Create the application Review your selections and click Create Application. APEX builds the full app — navigation, pages, and all — in seconds.
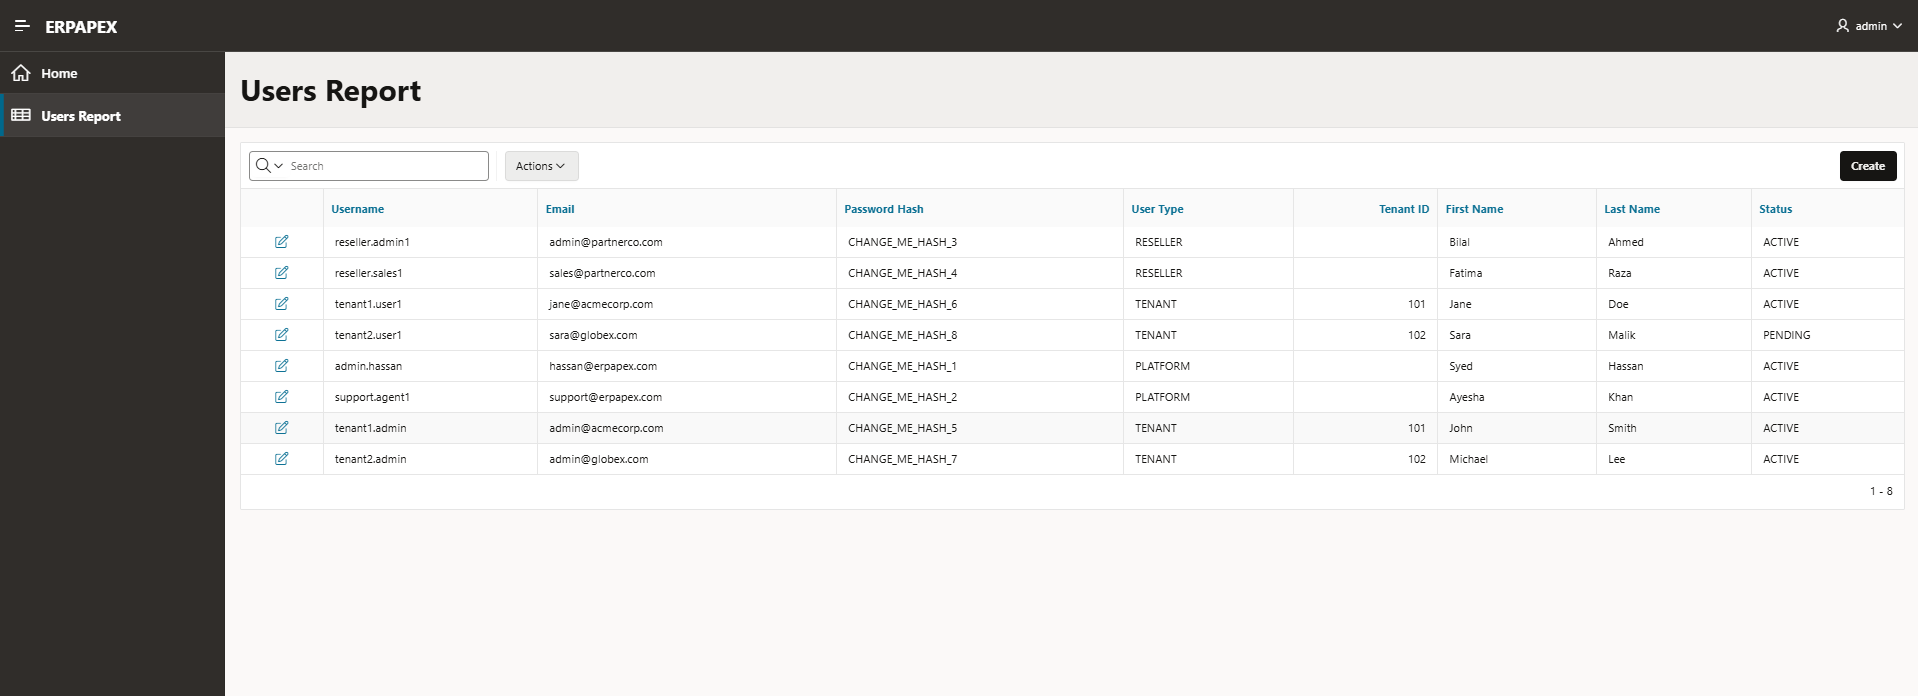
Step 7: Run your application Click Run Application. You should land on your first report page, showing an empty erp_adm_users list (since no rows exist yet) with a Create button ready to add your first record.
What You’ve Actually Built
Take a moment to appreciate what just happened: in a handful of clicks, APEX generated a fully functional CRUD (Create, Read, Update, Delete) interface over real database tables — complete with validation, navigation, and a working UI — without you writing a single line of HTML or JavaScript. This is the core promise of low-code development, and it’s exactly why understanding the architecture from Week 1’s first post matters: none of this is magic, it’s the metadata-driven rendering engine doing exactly what it’s designed to do.
Week 1 Complete
That wraps up Week 1’s foundational topics — architecture, workspaces, the Application Builder, page components, debugging, application settings, and now your first real working application. Everything in Week 2 builds directly on this base, moving into processing logic, validations, dynamic actions, and security in real depth.
What’s Next
Week 2 begins with File Handling & Rich Input — covering file uploads, image handling, rich text editors, and the page processing concepts that turn a static form into something that actually saves and validates data properly.
This post is part of a 20-week Oracle APEX training series covering everything from foundational architecture through AI-powered enterprise development in APEX 26.1. Follow along as we work through each topic in order.