
In the last post, we covered how APEX’s architecture works — the database-driven engine, the web listener, and the workspace concept that gives APEX its multi-tenant foundation from day one. Now it’s time to actually get your hands on one. Every single thing you build in APEX — every application, every page, every piece of shared logic — lives inside a workspace. Get this step right, and everything downstream becomes easier.
A workspace is a logical container. It doesn’t hold your database tables directly — those live in one or more database schemas — but it organizes who can build what, and where that “what” is allowed to read and write data.
"A workspace doesn't store your data. It governs who's allowed to touch it, and how."
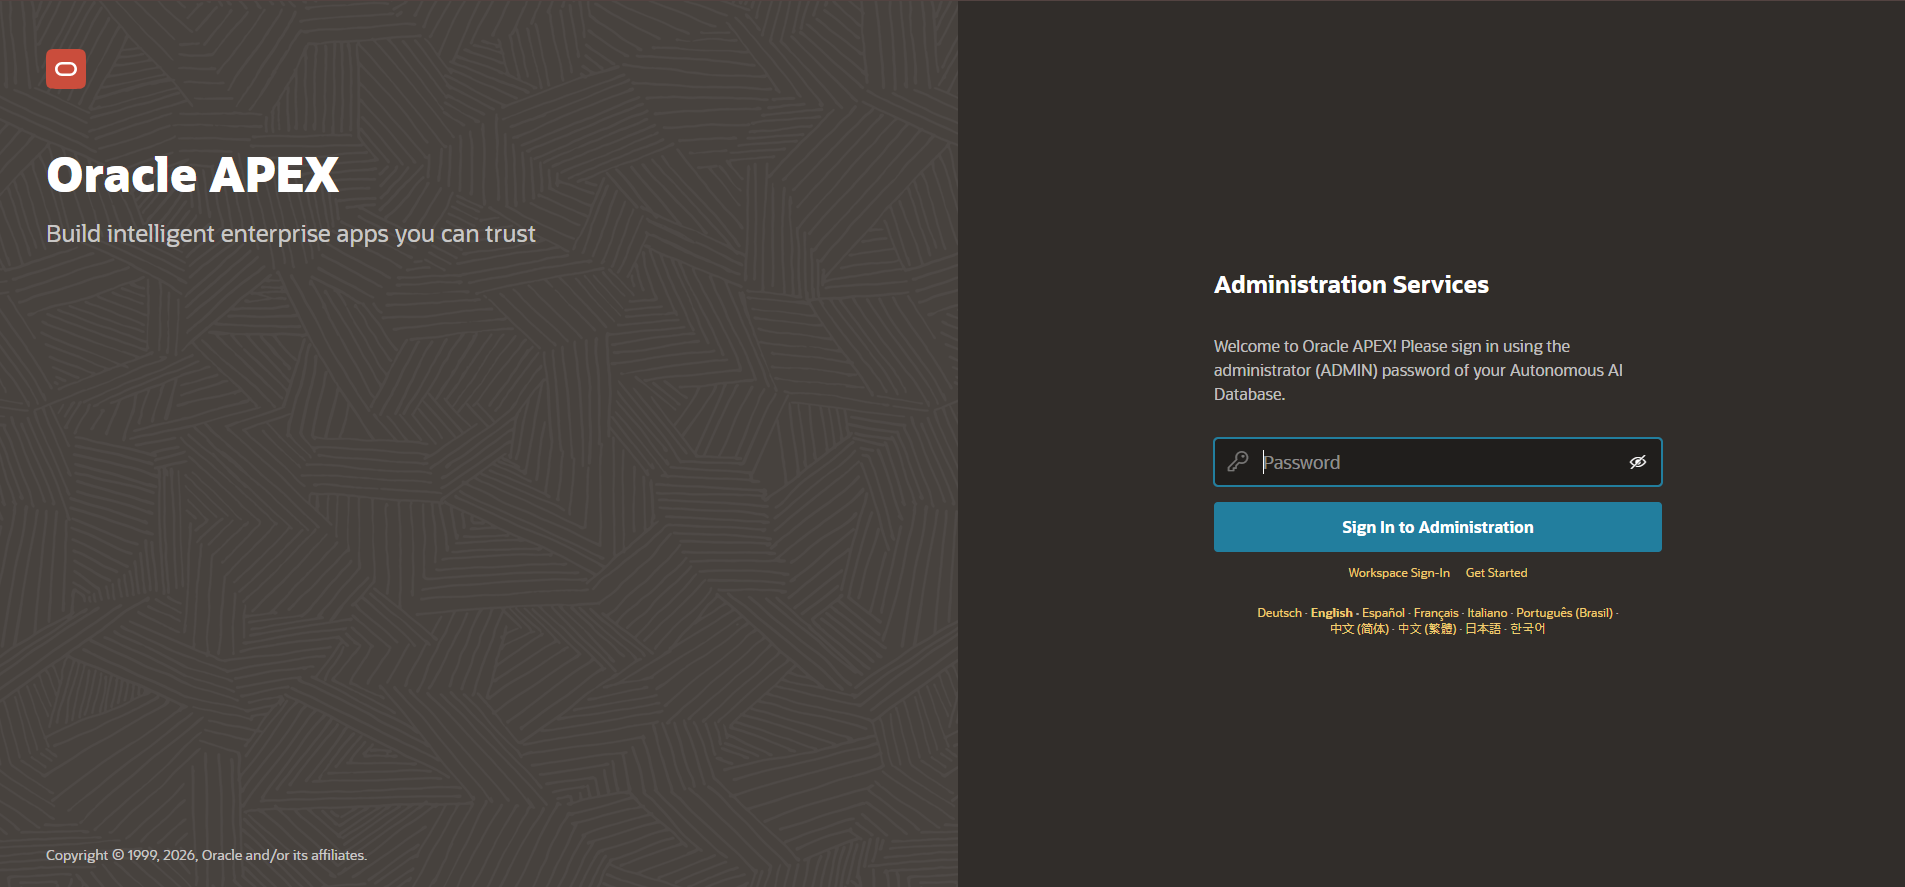
Creating a workspace happens through APEX Administration Services — a separate area from the regular Application Builder, reserved for instance-level administrators. If you’re on Oracle APEX’s hosted Always Free tier, a workspace is typically created for you automatically when you sign up. If you’re managing your own on-premises or cloud installation, you (or your DBA) will create workspaces manually.
The setup wizard asks for three key pieces of information, and each one matters more than it first appears:
Workspace Name — a unique identifier across the entire APEX instance. This becomes part of your login URL and your internal reference point, so pick something meaningful (a company name, a project code) rather than something generic like “test1.”
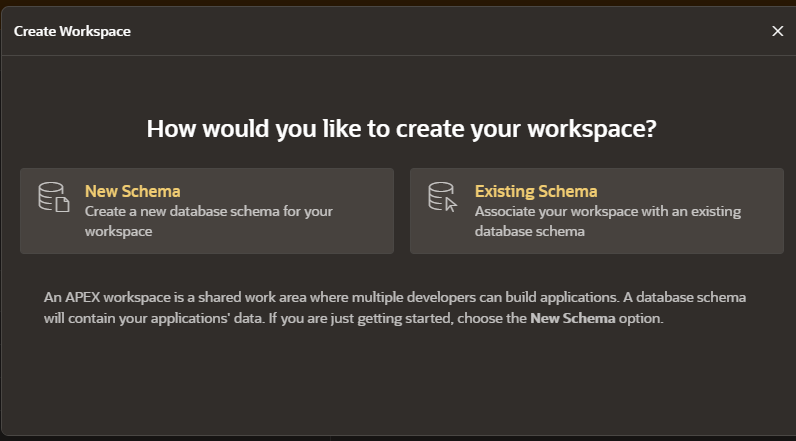
Schema Association — this is the real decision point. You’re linking your workspace to one or more existing database schemas, or asking APEX to create a new schema for you. This schema is where your actual application tables, views, and PL/SQL packages will live. Get this wrong, and you’ll find yourself fighting confusing permission errors later when your app can’t see the tables you expect it to.
Administrator Account — the first user in the workspace, who by default has full rights to create applications, manage other users, and configure workspace-level settings. In a team setting, this is usually a lead developer or the person managing the environment, not necessarily every developer who’ll eventually build in that workspace.

Step-by-Step: Creating Your First Workspace
If you’re following along and want to try this yourself, here’s the process broken down simply. This assumes you have access to APEX Administration Services — either your own on-premises/cloud installation, or Oracle’s free hosted environment at apex.oracle.com (in which case, steps 1–2 are handled for you automatically when you sign up).
Step 1: Log in to APEX Administration Services Navigate to your APEX instance’s admin URL — typically something like https://your-domain.com/apex/apex_admin. Log in with your instance administrator credentials (not a workspace-level account — this is the top-level admin area).
Step 2: Go to “Create Workspace” From the Administration Services home page, look for Manage Workspaces → Create Workspace. This opens the setup wizard.
Step 3: Choose your schema option You’ll be asked whether to:
- Associate the workspace with an existing schema (if your database tables already exist), or
- Have APEX create a new schema for you (best for a fresh start)
If you’re not sure which to pick, and this is a new project, choosing “create a new schema” is the safer, simpler option for beginners — it avoids any risk of accidentally mixing your new app’s objects into an existing schema’s tables.
Step 4: Name your workspace Enter a unique workspace name. Keep it short, meaningful, and free of spaces (use underscores or hyphens if needed) — for example, ERPAPEX_DEV rather than “My Test Workspace 1.”
Step 5: Set up the administrator account Provide a username, email, and password for the workspace’s first administrator. This account will have full rights inside the workspace once it’s created.
Step 6: Review and submit Confirm your selections on the summary screen, then click Create Workspace. APEX will provision everything in the background — this usually takes just a few seconds.
Step 7: Log in to your new workspace Once created, go to your instance’s regular login URL (not the admin one) — typically https://your-domain.com/apex/f?p=4550 or your custom workspace login page — and sign in with the administrator account you just created. You should land on the Application Builder home page for your new workspace.
That’s it — from here, you’re ready to create your first application, which we’ll walk through in a future post once we’ve covered Page Designer and the Application Builder interface in more depth.
One Detail Worth Getting Right Early: Schema-to-Workspace Mapping
Here’s something that trips up a lot of developers moving from other platforms: a single schema can be shared across multiple workspaces, and a single workspace can be associated with multiple schemas. This flexibility is powerful, but it also means the relationship isn’t always 1:1 the way you might assume.
If you’re building anything with even a hint of multi-tenancy — separate clients, separate environments, or a reseller model — get clear on this mapping before you start building pages. Retrofitting a workspace/schema structure after dozens of applications exist is far more painful than planning it upfront.
Getting Into the Application Builder for the First Time
Once your workspace exists and you’ve logged in with your administrator credentials, you’ll land in the Application Builder — the main development interface where every future post in this series will spend most of its time. From here, you can:
- Create a new application from scratch
- Import an existing application (useful for moving between dev/test/prod)
- Access Shared Components — reusable elements like LOVs, authentication schemes, and templates that we’ll dig into over the coming weeks
What’s Next
Now that your workspace exists, we’re ready to actually start building. Next in the series: Application Builder Interface — where we’ll tour the development environment itself and understand how the pieces you’ll use every day (Page Designer, Shared Components, App Builder home page) fit together.